Early experiments:
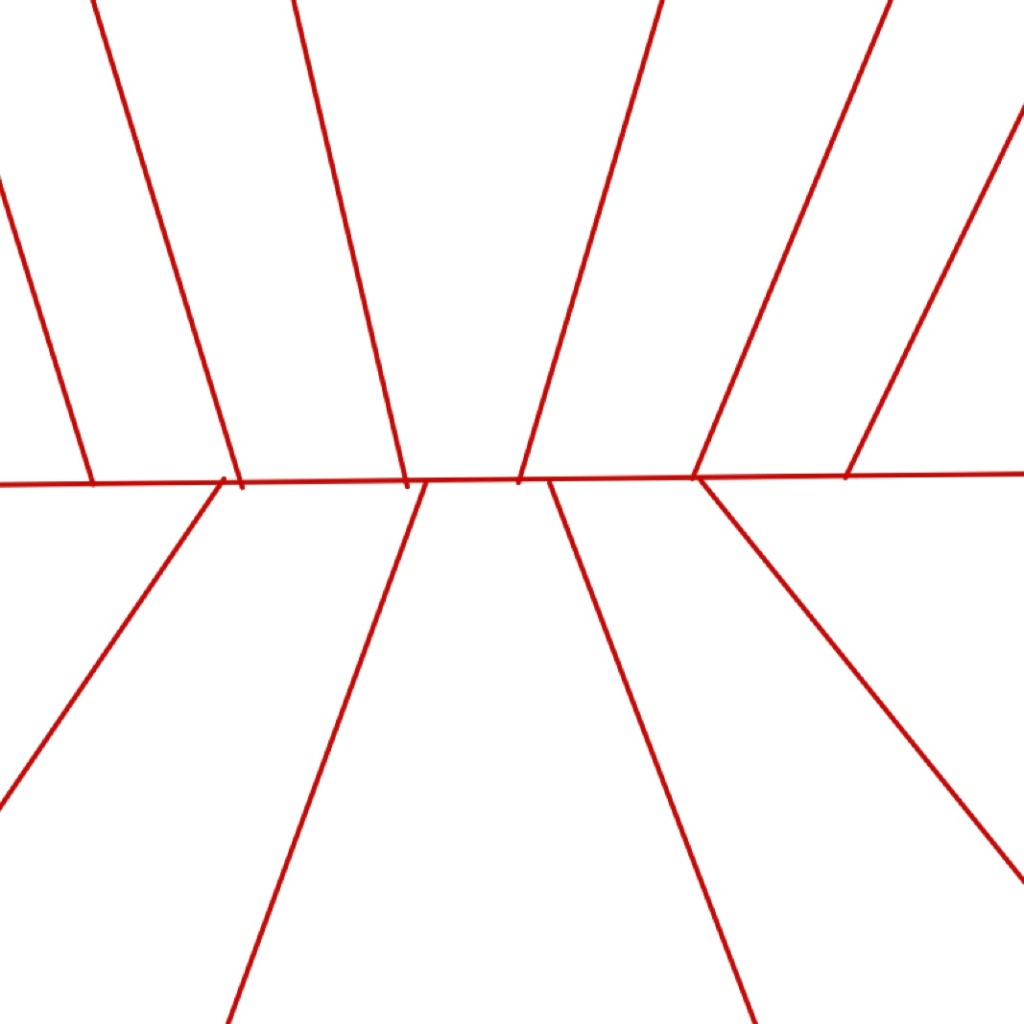
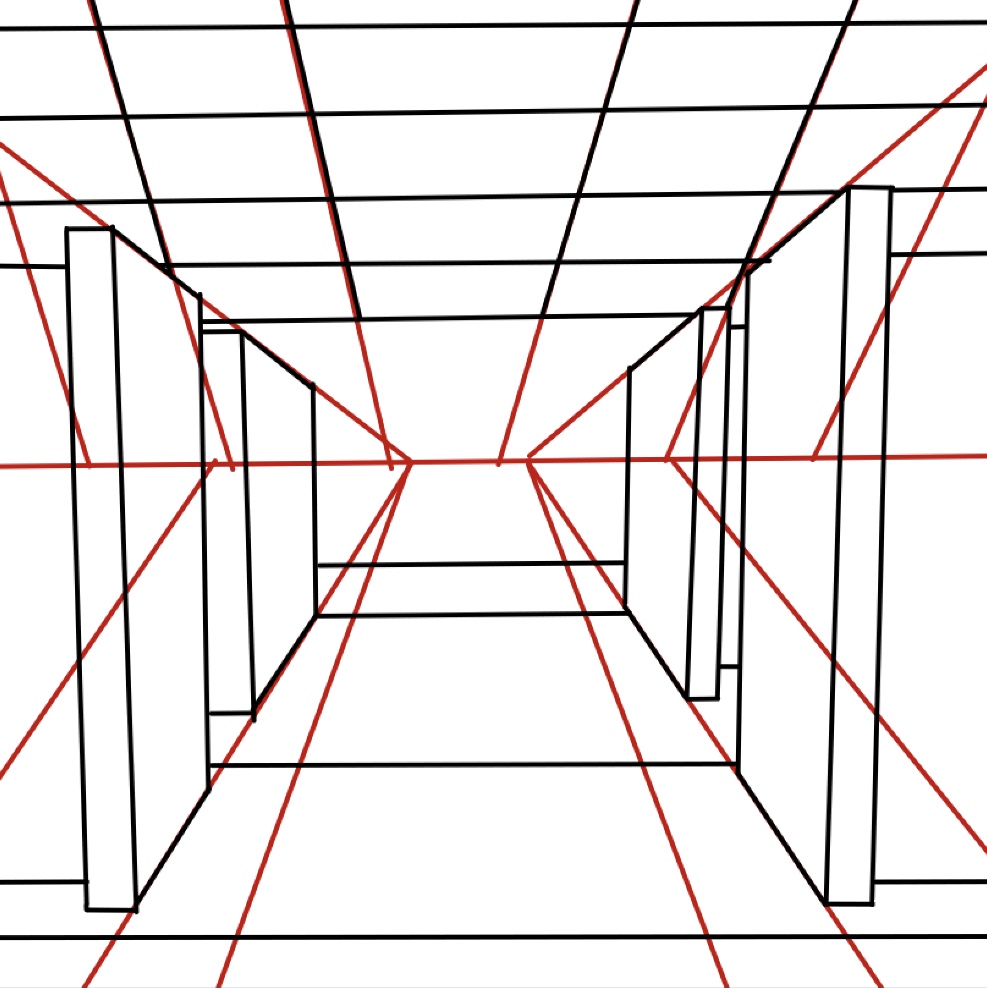
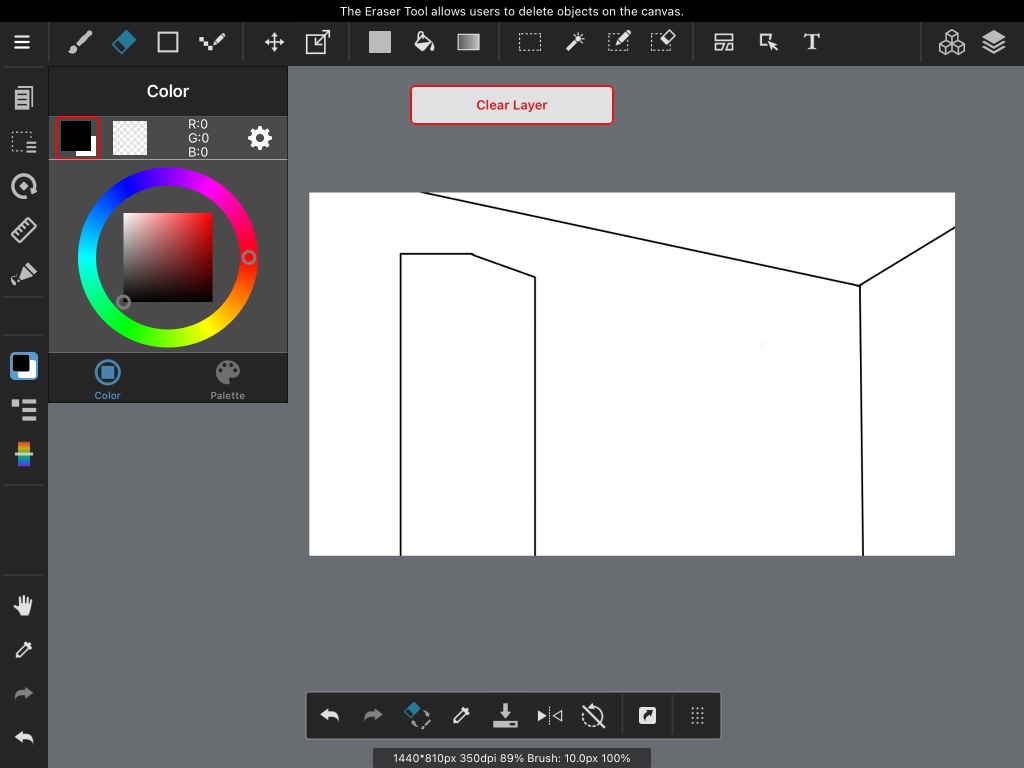
Background & Perspective Drawing.
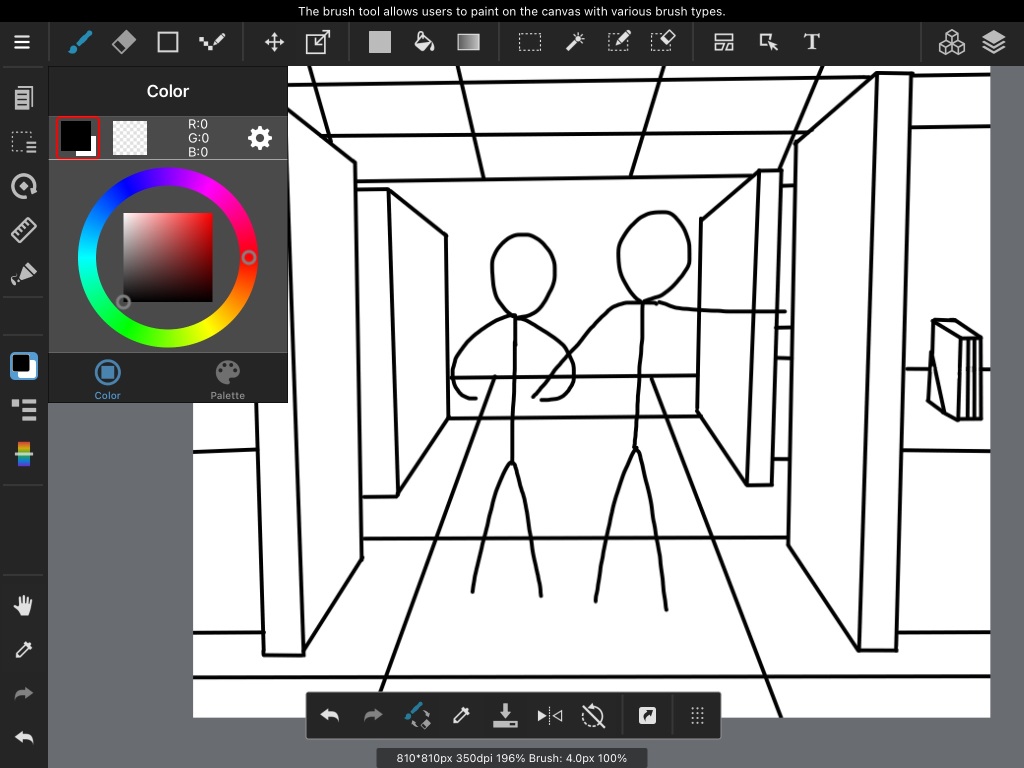
Process
- Follow step-by-step with Mastering Manga Book.
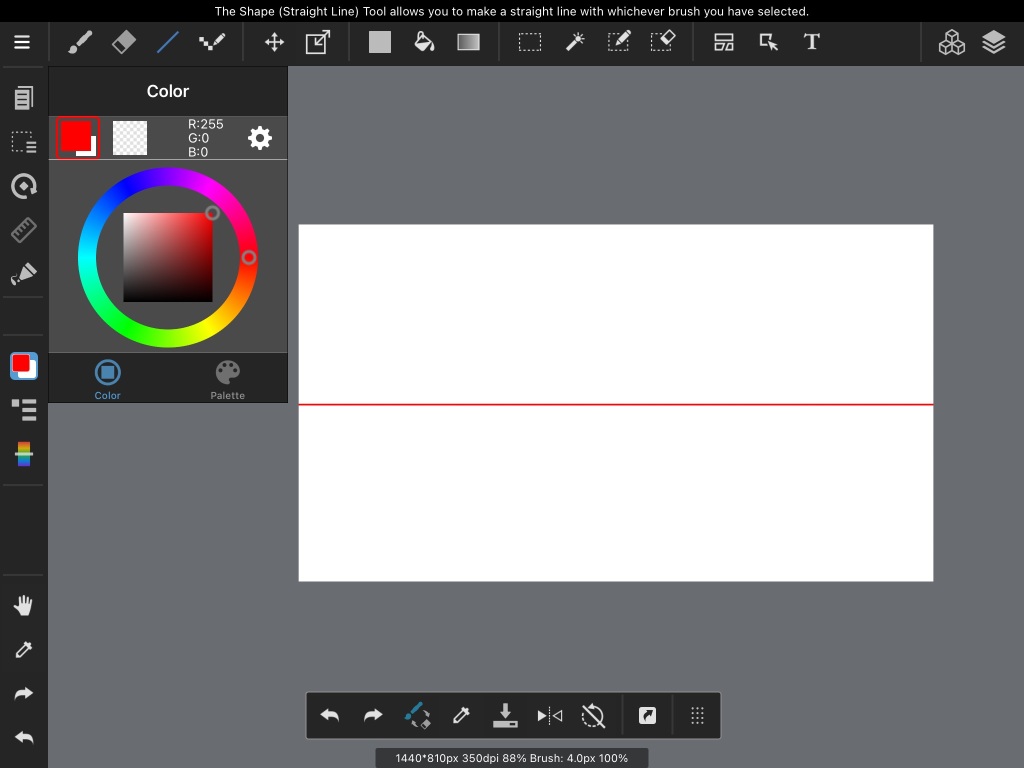
- Draw a horizontal line with a red line.
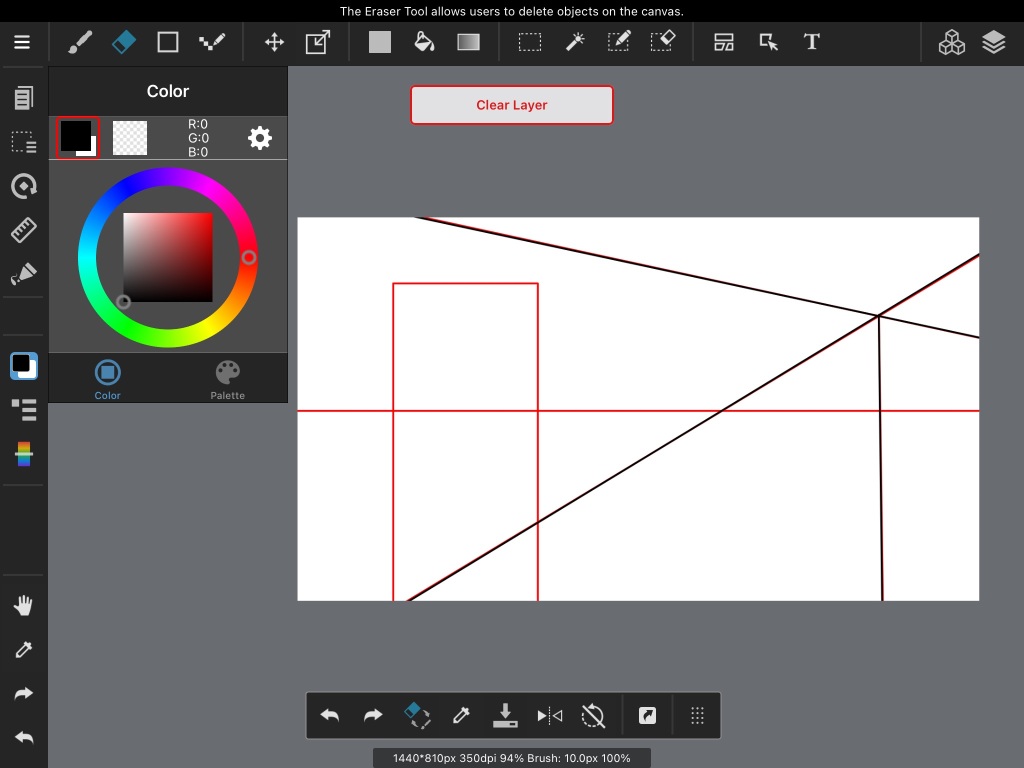
- Outline the 3D lines in red.
- Draw the lines in black for ‘ink’.
- Add in detail.
- Add in characters (optional)
- Add on colour.
- Shading & Lighting (optional)
![](https://euansblog.home.blog/wp-content/uploads/2021/05/40f17fcf-3d48-4ad5-befc-f8ef4c3d2395_1_201_a.jpeg?w=1024)
![](https://euansblog.home.blog/wp-content/uploads/2021/05/3ca9b568-a7ad-4657-a754-a5fae461b08f_1_201_a.jpeg?w=987)
![](https://euansblog.home.blog/wp-content/uploads/2021/05/ca91bb1e-2e1b-466d-afe0-3b4abb482e87_1_201_a.jpeg?w=1024)
![](https://euansblog.home.blog/wp-content/uploads/2021/05/26f2939a-7130-4aee-986c-495f7cabf050_1_101_o.jpeg?w=1024)
![](https://euansblog.home.blog/wp-content/uploads/2021/05/fb9a9eb5-3c10-42ff-9364-926ff29db978_1_101_o.jpeg?w=1024)
![](https://euansblog.home.blog/wp-content/uploads/2021/05/69deef61-ba16-4e17-8969-10dd5b8720a8_1_102_o.jpeg?w=810)
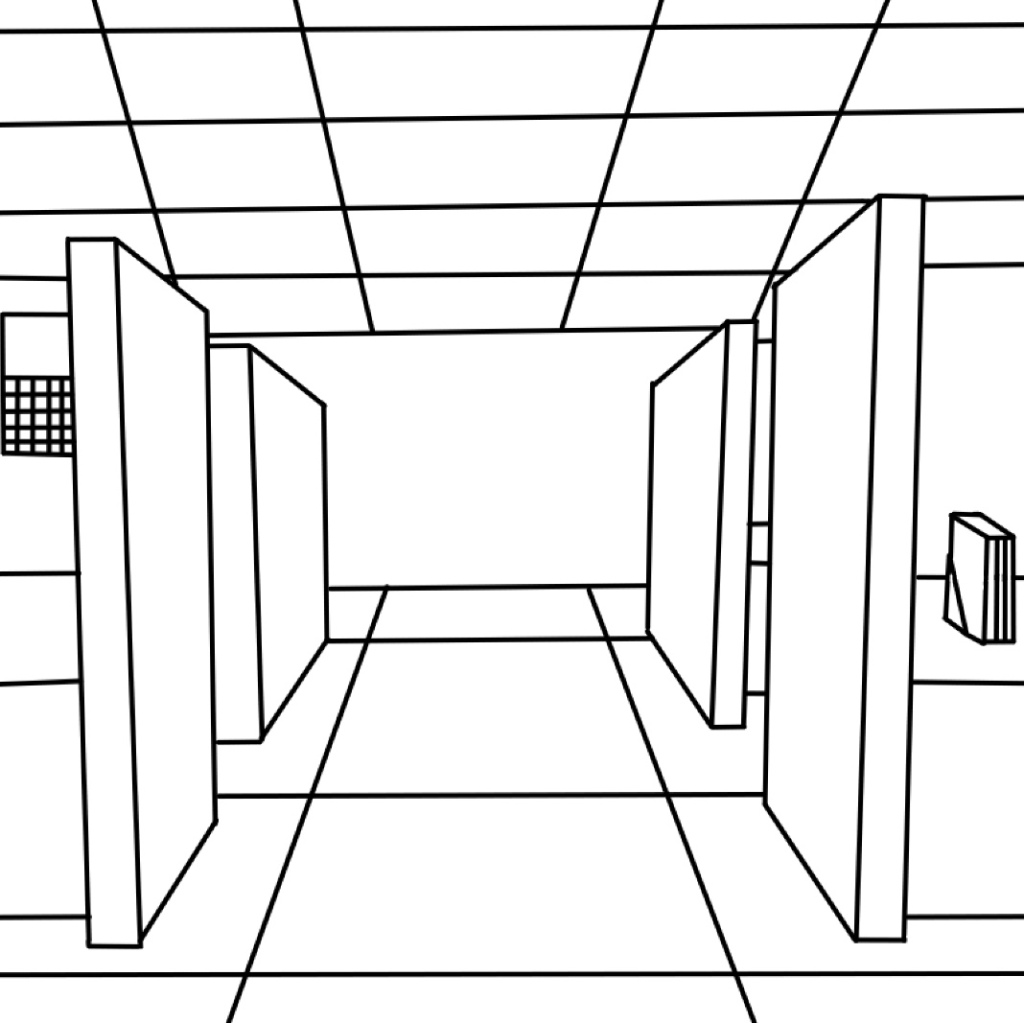
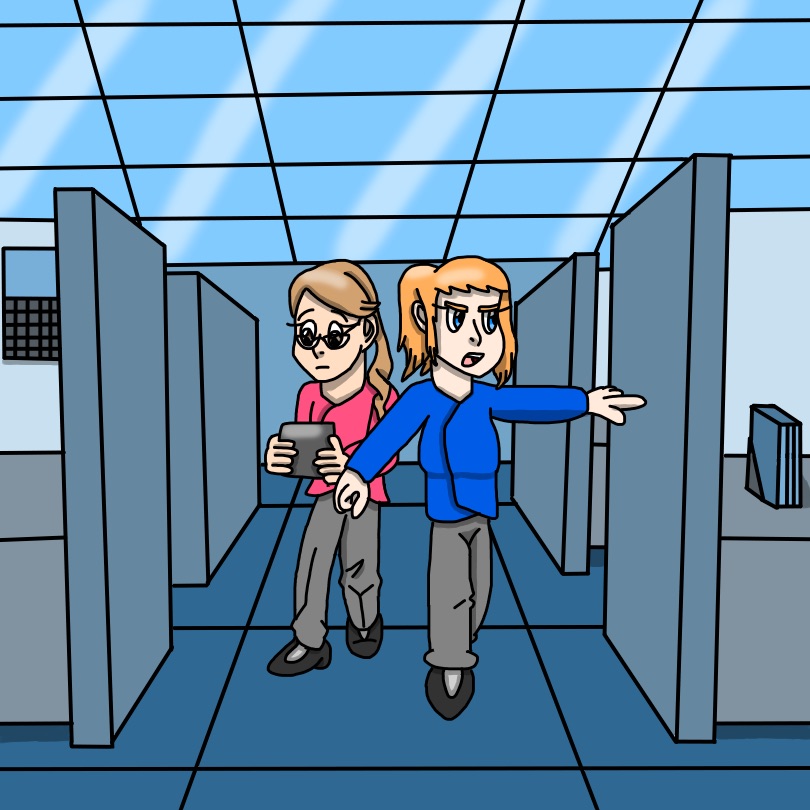
Originally, this drawing was going to feature in the animation as a glimpse into one of the character’s futures, showing where they end up. However, it was scrapped. However, I used the process I made here for my future drawings as a way to help draw the background.
![](https://euansblog.home.blog/wp-content/uploads/2021/05/5a3f07f9-c343-4bbb-bd00-1e39dd3b79bf_1_101_o.jpeg?w=1024)
![](https://euansblog.home.blog/wp-content/uploads/2021/05/9f1a856d-dd9e-49db-8ddc-37305e5429de_1_101_o.jpeg?w=1024)
![](https://euansblog.home.blog/wp-content/uploads/2021/05/66248c29-7776-47fd-89d2-2ec508c5d99b_1_101_o.jpeg?w=1024)
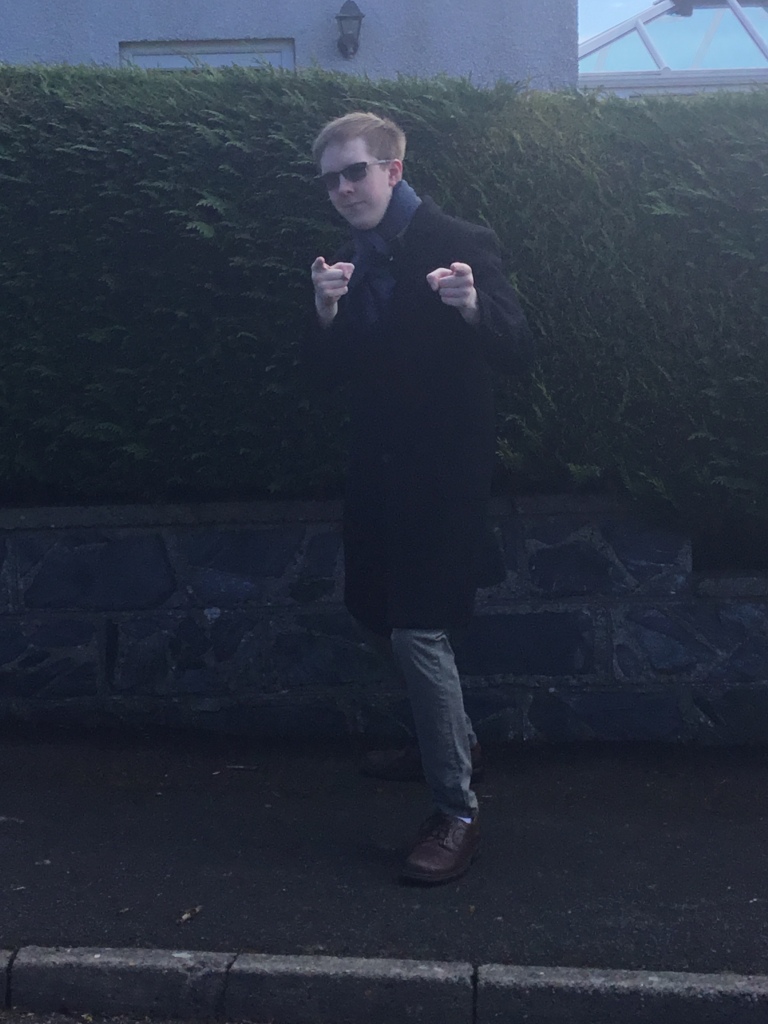
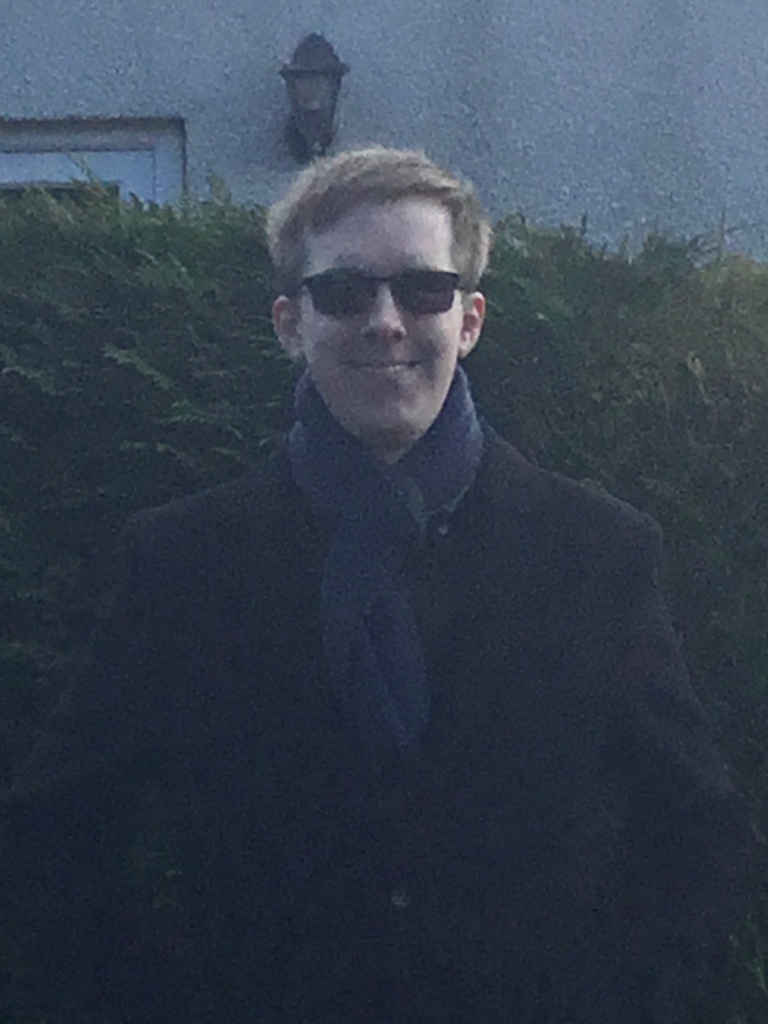
Character Facial Expressions and Poses:
During the lockdown, I managed to meet up with a friend who posed for me. I used the photos I took on one of my characters.
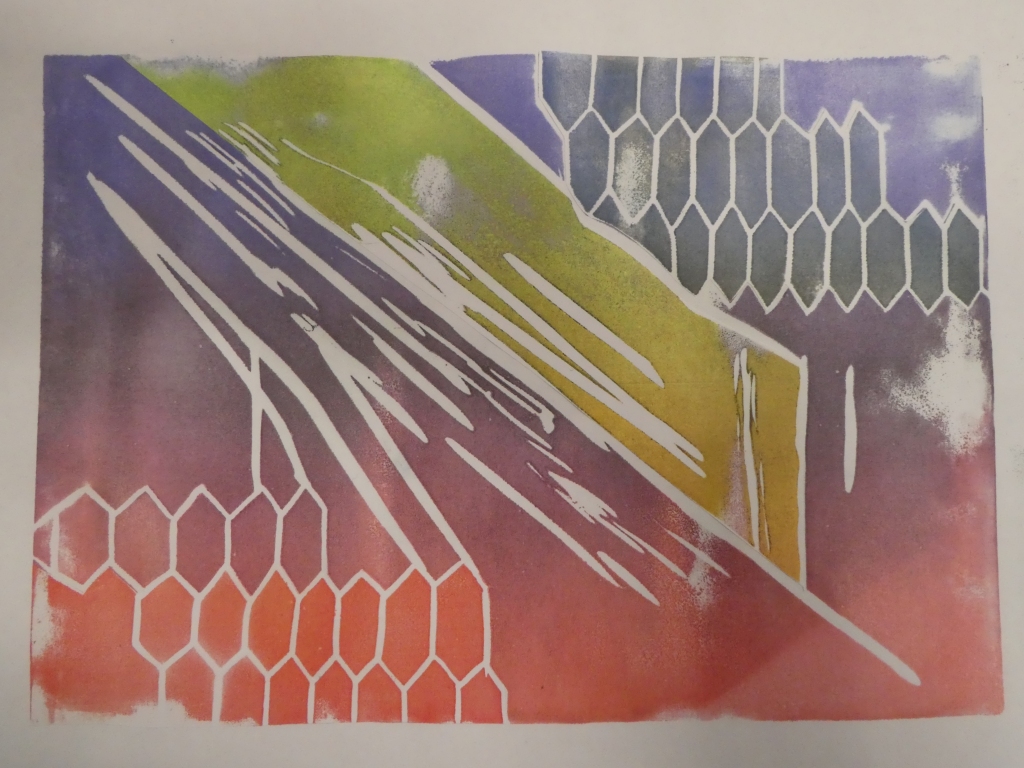
![](https://euansblog.home.blog/wp-content/uploads/2021/05/d8e07545-57b3-4b18-b5ae-7241c2bdc257.jpeg?w=768)
![](https://euansblog.home.blog/wp-content/uploads/2021/05/268aa645-b5dd-4eb1-a9e7-4d3e32672293_1_201_a.jpeg?w=768)
![](https://euansblog.home.blog/wp-content/uploads/2021/05/d8e5cca2-8bcc-42e9-8a2e-2aaa60952277_1_102_o.jpeg?w=614)
Collage:
Process:
- Take a photo of a texture or pattern.
- Import into animation video.
- Set the opacity at 50%.
- Add additional colour for background and photo.
(footage of the collage is seen in the actual animation)
In addition, I used the Photocopied versions of the Lino Prints I made for collage.
![](https://euansblog.home.blog/wp-content/uploads/2021/05/cdc2d41b-40b4-4e77-9419-6a28f252bd91.jpeg?w=1024)