Drawing Process

Early experiments:

Background & Perspective Drawing.

Process

  • Follow step-by-step with Mastering Manga Book.
  • Draw a horizontal line with a red line.
  • Outline the 3D lines in red.
  • Draw the lines in black for ‘ink’.
  • Add in detail.
  • Add in characters (optional)
  • Add on colour.
  • Shading & Lighting (optional)
Outline
Rough Draft
Additional Details
Characters: Rough
Colours
Finished Version

Originally, this drawing was going to feature in the animation as a glimpse into one of the character’s futures, showing where they end up. However, it was scrapped. However, I used the process I made here for my future drawings as a way to help draw the background.

Horizontal Line
Rough Draft
Final Sketch

Character Facial Expressions and Poses:

During the lockdown, I managed to meet up with a friend who posed for me. I used the photos I took on one of my characters.

Character Pose
Emotion: Happy
Character Design

Collage:

Process:

  • Take a photo of a texture or pattern.
  • Import into animation video.
  • Set the opacity at 50%.
  • Add additional colour for background and photo.

(footage of the collage is seen in the actual animation)

In addition, I used the Photocopied versions of the Lino Prints I made for collage.

Fine Art Background Designs

During the lockdown, I had made a Lino cut design for a background I am hoping to use for my animation. This could be used as a background design for a building, a room, a board or even a game stage.

Due to being in Lockdown, I was limited to the materials I could use. I couldn’t print the prints the way I usually would either. So, I improvised by this process:

  1. Use the Gellipad provided to mix the paints.
  2. Take a small scoop of acrylic paint onto the Gellipad.
  3. Mix the colours together.
  4. Use the brayer to paint the Lino.
  5. Print the piece on either paper or in my sketchbook.
Sample A
Sample B
Sample C
Sample D

Using the Acrylic paint wasn’t easy. Unlike ink, the acrylic can cause the brayer to slide along instead of roll. This can be a pain when trying to mix paints together.

Hopefully, I will be able to go wild with the Gellipad next time because there were patterns I was hoping to try but didn’t due to circumstances and lack of materials.

Update: April 27th

Print 1
Print 2
Print 3
Print 4

Update: May 14th

I used the prints for background holograms in the animations after making a collage out of them as seen below. (through photocopying)

Collage 1
Collage 2
Collage 3
Collage 4

Character Draft to Final

Ever since coming to UCM and doing the Art & Design Course from Level 1 – Level 3 2nd year, I have been getting better at my drawing skills. However, character details, poses and features has always been a struggle for me. This is quite evident from looking at the example below.

FMP Level 2 Piece 1 (Robo-Hackers: Issue 1, Page 1 Original)

However, overtime, in just two years, my artwork has been improving from block like designs to more flexible designs.

Robo-Hackers: Issue 1 Page 14 Original, textless

Even so, I still struggle with figure drawing. While moving the arms and legs aren’t too difficult, trying to move the head has always been a problem for me. This is evident in my latest works as well.

Dan’s Hair Makeover
Darwin & Eddie Comic Strip 2 Page 1
Darwin & Eddie Comic Strip 2 Page 3

But aside from that, my artwork has been improving. My shading and lighting skills have improved drastically, and I have got to the point where I can even draw creases in clothing as seen below!

Robo-Hackers: Issue 1 Page 1 Redraw

Which brings us to my latest animation, showing my character design from draft to final. There are still a few things which I am still inexperienced at, namely the size of a leg and the position of a foot, but with how rapidly my artwork is evolving, I will hopefully begin improving on this soon.

Process:

  1. Head shape draft and rectangle for body. Line for pose.
  2. Arms and Legs draft.
  3. Eyes.
  4. Face.
  5. Hair and Ear.
  6. Ear details and eyebrows.
  7. Ink rough.
  8. Enlarge or minimise. (depending on size)
  9. Additional details. (irises, pockets, shoes and creases)
  10. Colour.
  11. Shading & Lighting. (final design)

Animation Experiment Reel

This is a video which shows all of my animations from March to present.

Might want to play it at the slowest speed for reviewing.

Animation 1: Ball Bounce. Mk 1.

Good:

  • Bouncing up.
  • Dropping down and squashing on the ground is effective.
  • Ball stretch is good enough.

Room for improvement:

  • Show the ball stretch out a little as it falls to the ground.
  • More frames for the bounce.
  • Look at how an actual ball bounces.

Animation 2: Bowling Ball Bounce.

Good:

  • Ball rotation.
  • Movement of the ball.
  • Bouncing parts feel realistic.

Room for improvement:

  • Maybe lose the last bounce, or make it look like a leap.

Animation 3: Ball Bounce. Mk 2.

Good:

  • Stretching of the ball has improved.
  • Bouncing animation has improved.

Room for improvement:

  • Make the ball bounce all the way.
  • Bouncing animation still needs a bit of time to improve.

Animation 4: Ball Bounce. Mk 3.

Not much of a difference from Mk 2.

Animation 5: Ball Bounce. Mk 4.

Just the same as the last two, only with the first bullet point for improvement.

Animation 6: Emotion Ball Bounces.

Order: Angry, Excited, Happy, Tired and Scared.

Good:

  • Ball bounces all feel good and cartoonish.
  • You can tell the emotions of the balls by the bounces.
  • Bowling Ball animation is impressive.

Room for improvement:

  • I think the last one could use with a few more frames, or a bit more space between the small ball and the bowling ball.
  • Perhaps a bit more emotion for the excited ball.
  • Maybe the angry ball causes a hole or a crack on the ground?

Animation 7: Close-up.

This animation was from the last project, however, I tweaked the camera a little and cropped the character back to size for experimentation. Will try to use this close-up skill in the animation.

Animation 8: Moving camera.

Experimentation with moving the camera from one end the other. Looks good but could slow down a little.

Animation 9: Character animation.

Character animation was made in Procreate and imported into RoughAnimator, thanks to the guidance of a friend from FLIX.

Facial expressions are expressive. Not bad for a first try. However, body movement and arms feel a little stiff. Still room for improvement.

FMP Audience & Storyboard

Age group:

  • Teenagers.
  • Young adults.
  • School students.

Social Media:

  • YouTube.
  • Instagram.
  • Facebook.

My target audience are teenagers-young adults because the ideas and storyline in the animation piece I will be doing is about maturity and following the path they’ve chosen. However, I will be trying to add some cartoonish humour where I can so it’s suitable for younger audiences as well.

Storyline:

Chris’ Story:

  1. Chris Creeves is a young artist who loves playing video games.
  2. He aspires to become a game designer.
  3. He attends the university to pursue his dream goal.
  4. He meets Colin who tries everything to make Chris drop out.
  5. Chris succeeds in his education.
  6. But discovers he caused Colin to fail.
  7. Chris decides to help Colin with his education.
  8. Both finish their education and go from rivals to firm friends.

Colin’s Story:

  1. Colin Craft is an egotistical narcissist who enjoys being centre of attention.
  2. He aspires to become a billionaire.
  3. He attends the university by his parents’ recommendation.
  4. He meets Chris who, to him, acts as his obstacle to achieving his goal.
  5. Colin tries everything to get Chris to drop out.
  6. But fails in his education because of his focus.
  7. Eventually, Colin opens up and asks Chris for help.
  8. He finishes his education and becomes friends with Chris.

Storyboard.

Panel 1: Chris and Colin before going to University.

Panel 2: Chris and Colin meeting each other.

Panel 3: Colin trying everything to sabotage Chris.

Panel 4: Chris finding out about Colin’s failure.

Panel 5: Both boys graduating and becoming friends.

Illustrator and Animator Research

Tyson Hesse

  • Comic book illustrator & animator
  • Well known for his ‘DIESEL’ comics and his ‘Sonic Mania Adventures’ web animation.
  • Uses simple easy designs for his work.

How he inspires me:

  • The facial expressions he puts into his characters.
  • How he adds funny scenes in the background while focusing on the main story.

Samples of his work:

Preview: Sonic The Hedgehog's 'Mega Drive: The Next Level'

James Baxter

  • 2D Animator
  • Worked on Disney renaissance films; The Little Mermaid, Beauty & the Beast and the Lion King.

How he inspires me:

  • He only uses 2D animation.
  • He teaches helpful animation tips.

Samples of his work:

Christopher Hart

  • Author of ‘how-to-draw’ books.
  • Writes and illustrates drawing tutorials.

How he has helped me:

  • His tutorials have helped me with improving my artwork.
  • His character design book came in handy as I was working on Character Design.

Samples of his work:

Albert Uderzo

  • French Comic book artist and scriptwriter.
  • Famed for creating the Asterix comics.

How he inspires me:

  • He illustrations gives humour without text.
  • He made his own comics.
  • His character designs are interesting.

Samples of his work:

Albert Uderzo - Lambiek Comiclopedia

FMP Mid-Point Evaluation

Comparison to Proposal

Comparing my current work to my proposal, I have made drastic changes to my initial plan, but have stuck with the idea I had initially. However, I haven’t been able to get round to what I initially planned due to being absorbed in my research. Though I wouldn’t say this is a bad thing because this has left me with enough time to experiment with the two apps I proposed as well as do some additional research into illustrators and animators, as recommended by tutors in our tutorials.

Analyse the Work Against Unit Criteria

1.1 – Contextual work could be expanded upon.

1.2 – Good depth of annotation, but I have not enough reflection.

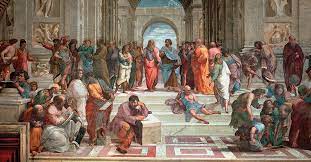
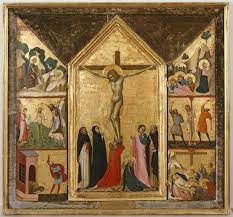
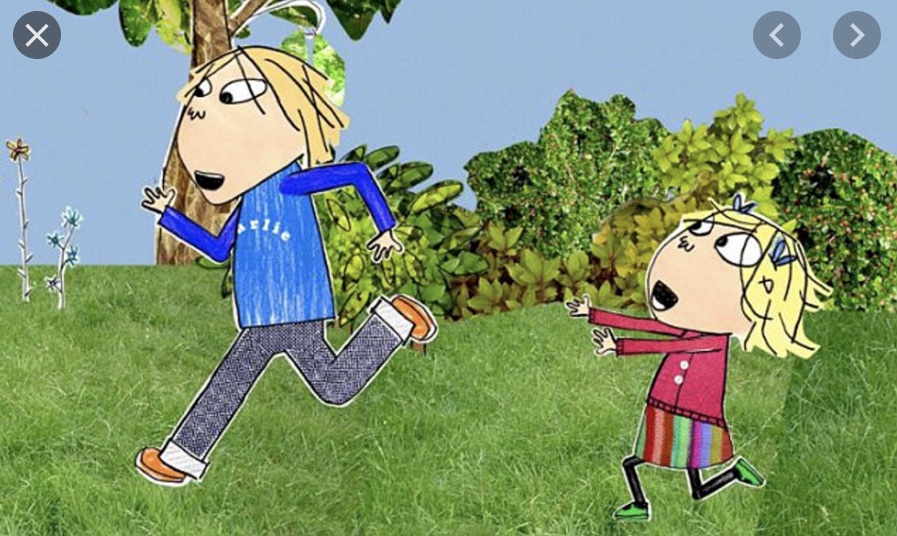
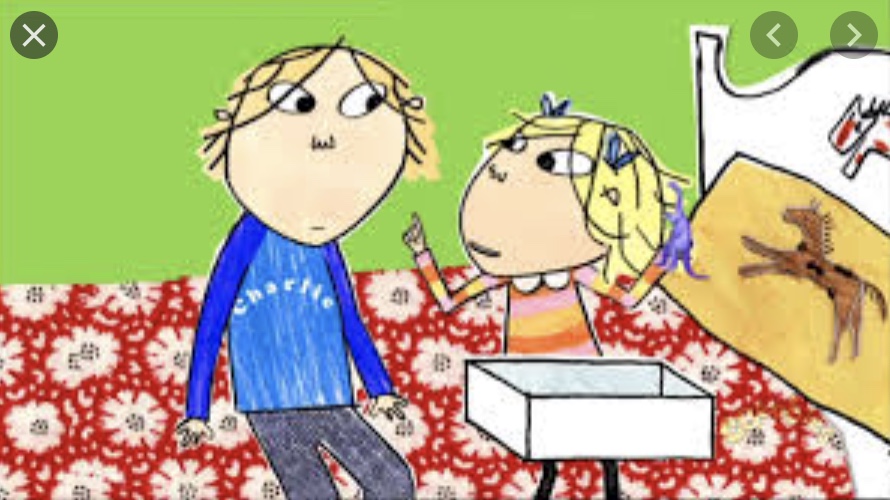
2.1 – Research into artists has been lacking but is still ongoing.

2.2 – Research has been thorough; however, some annotation is needed.

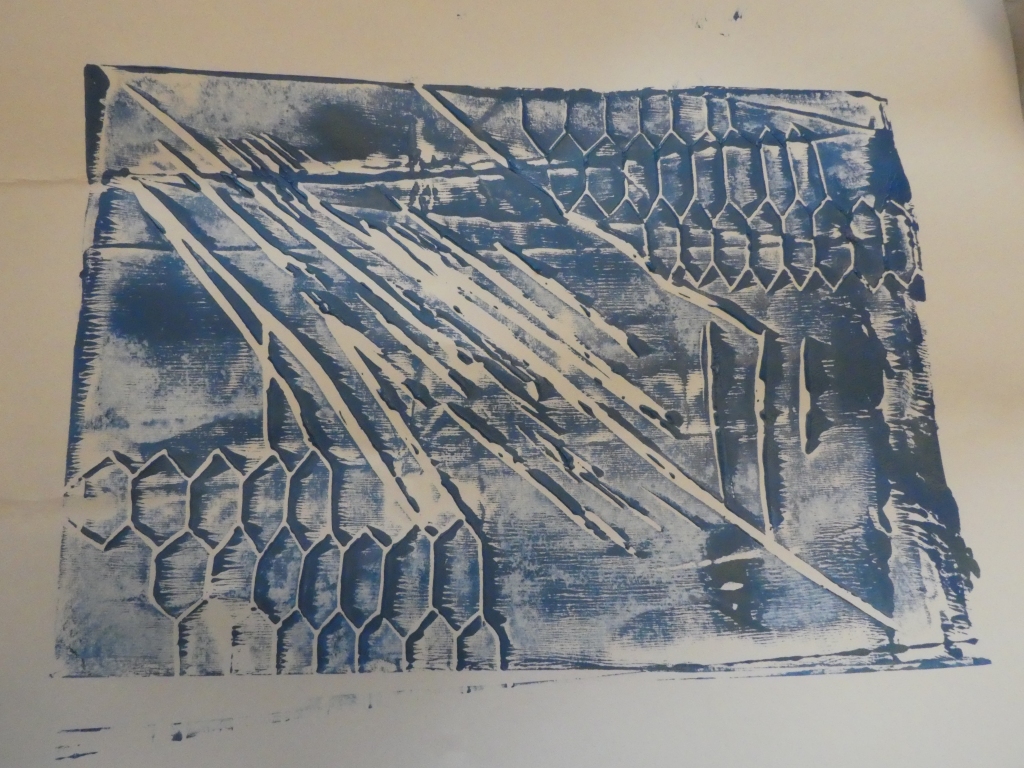
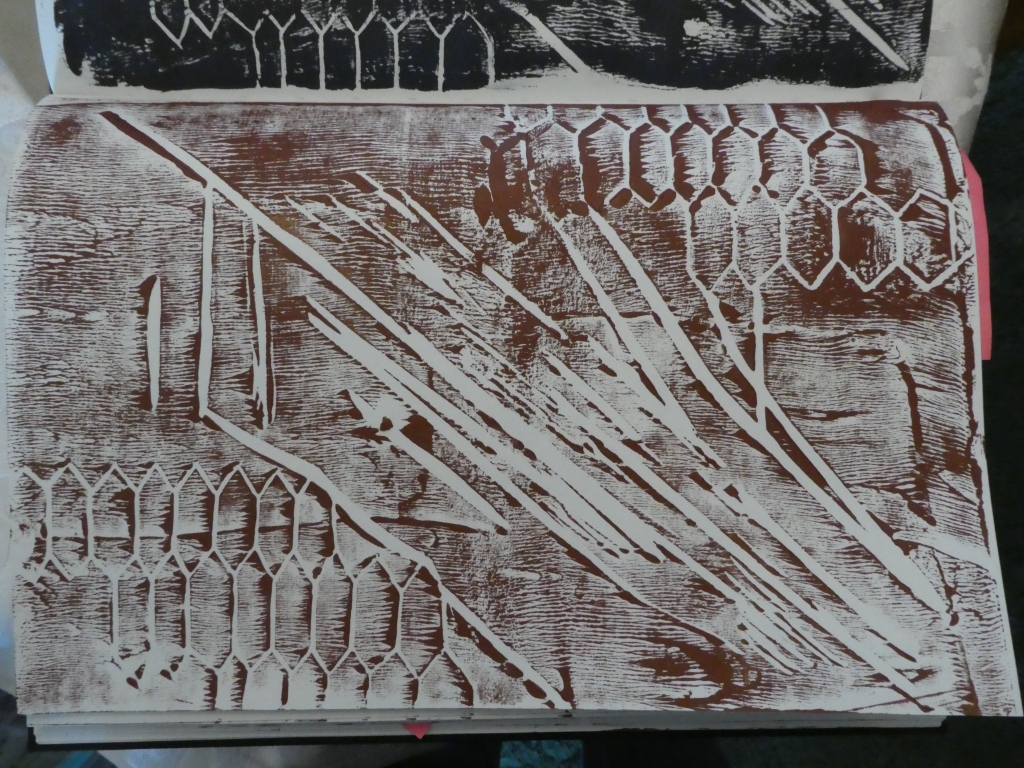
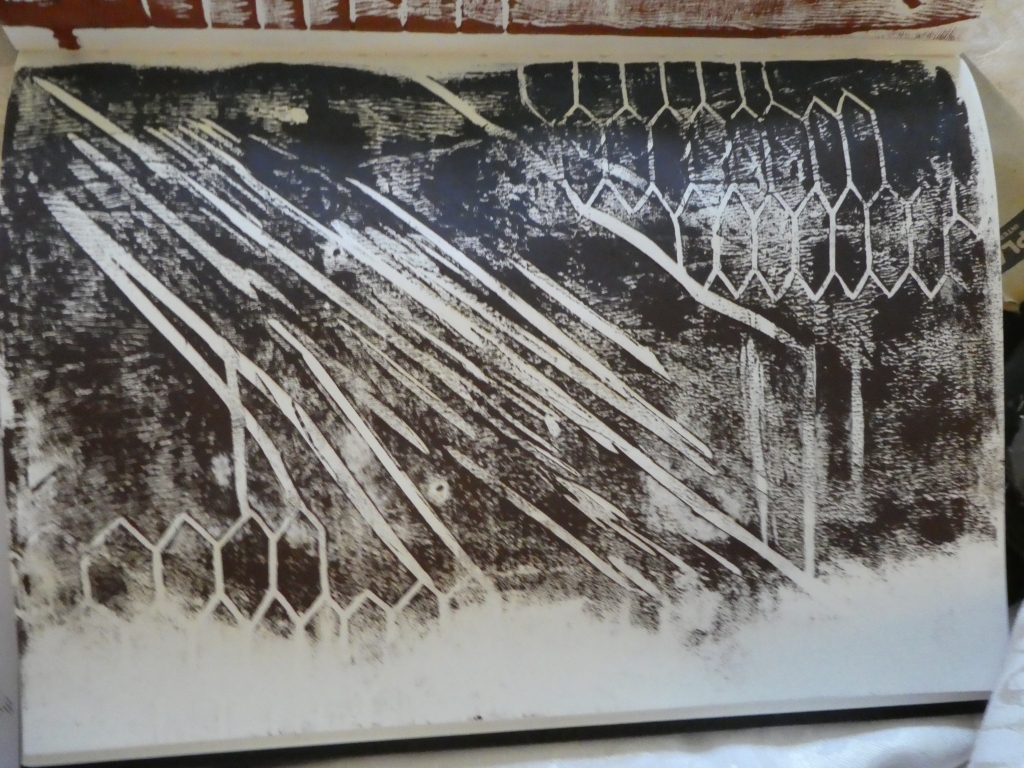
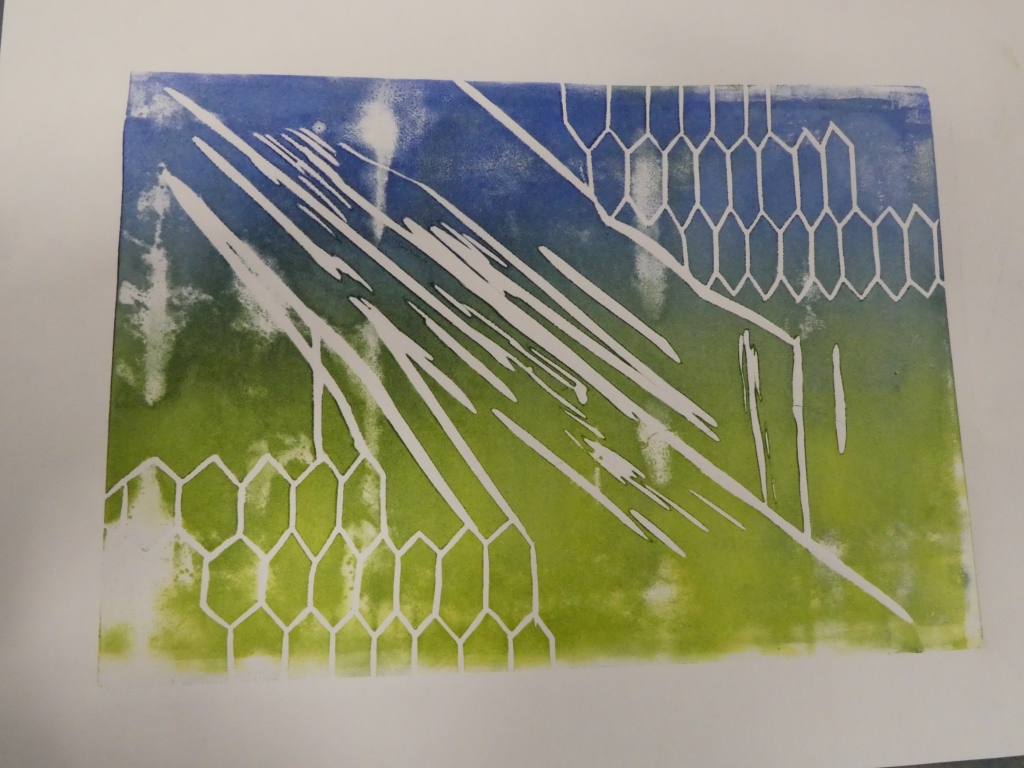
3.1 – Experiment with art tools provided and stick them into sketchbook then try collaborating it with animations. 

3.2 – Considering Colour Theory and collage theory for outcome.

4.1 – Coloured words in red or green if the activity listed has been completed or discarded. 

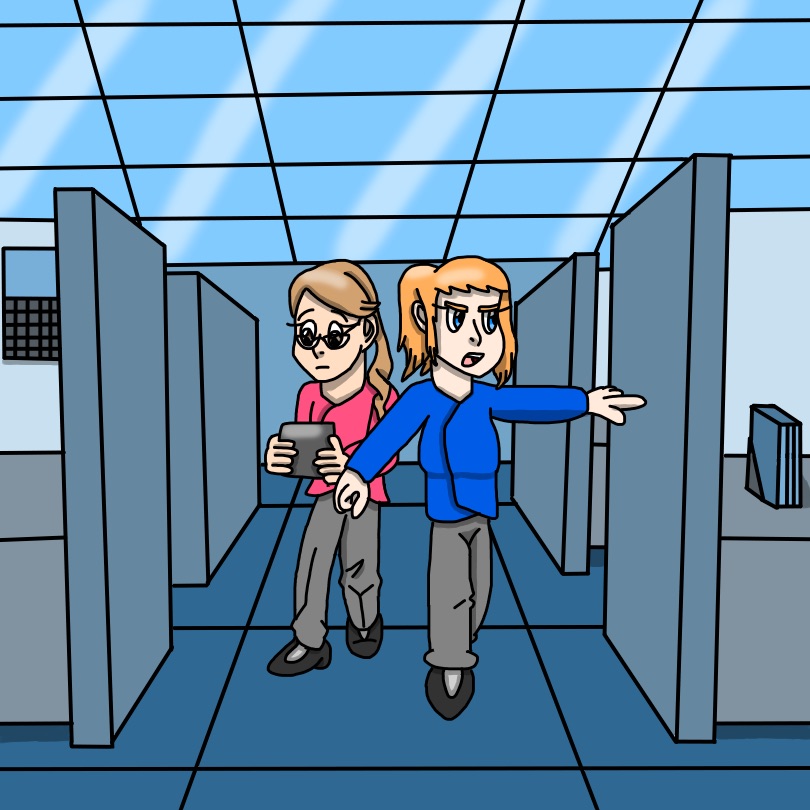
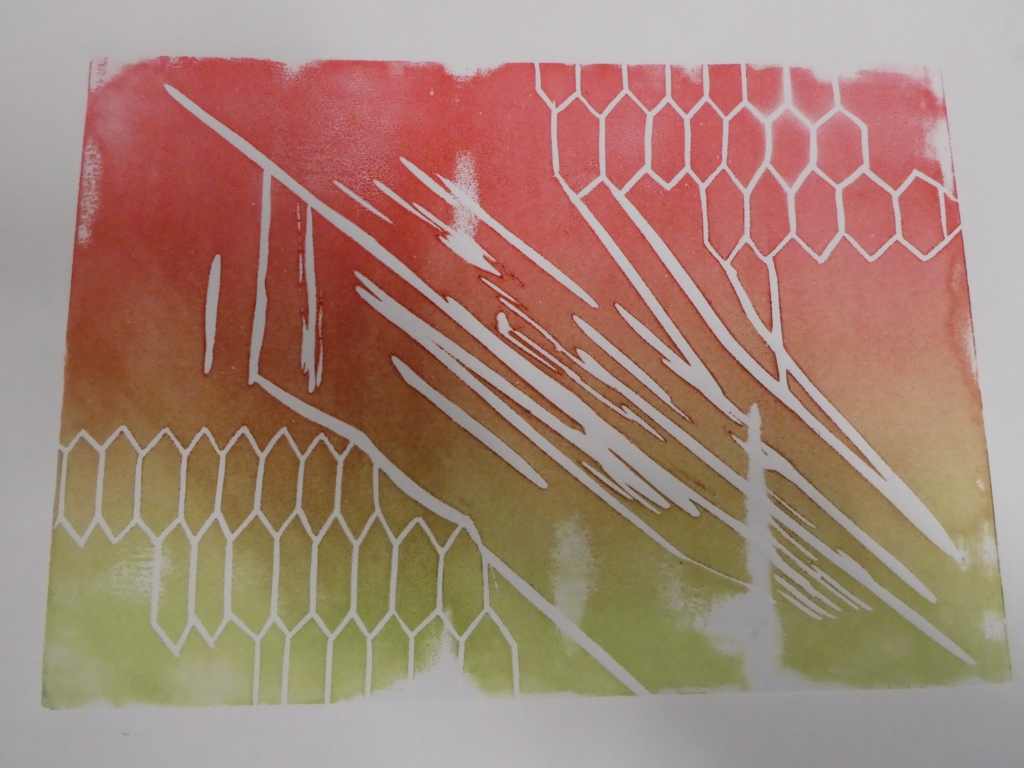
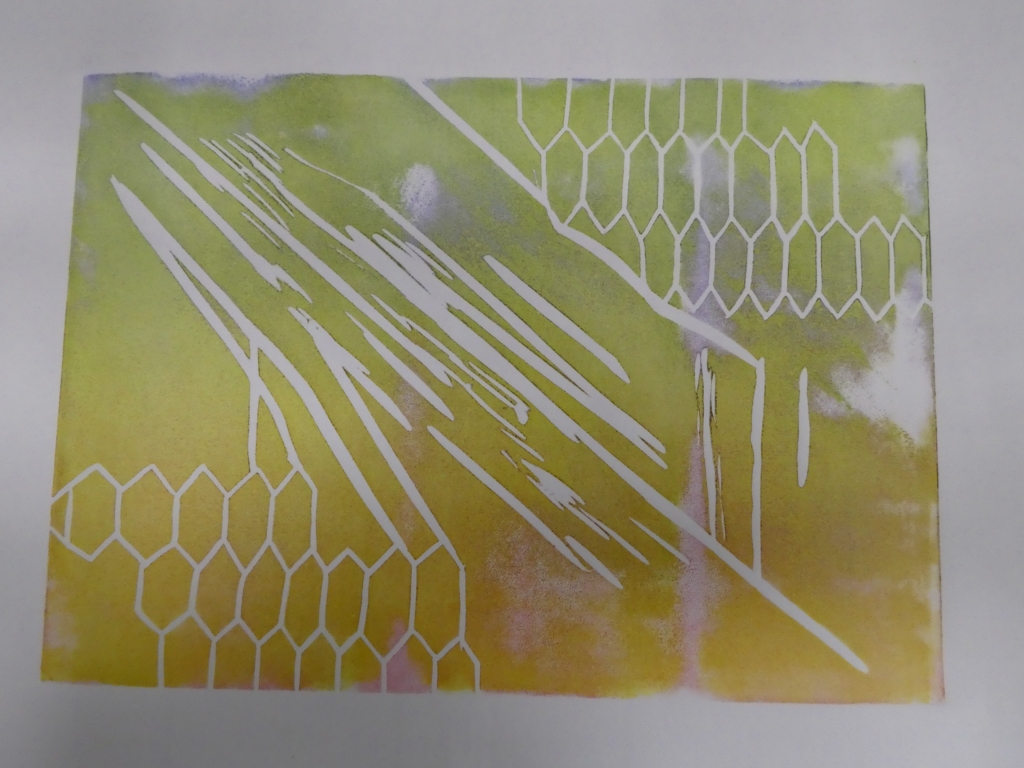
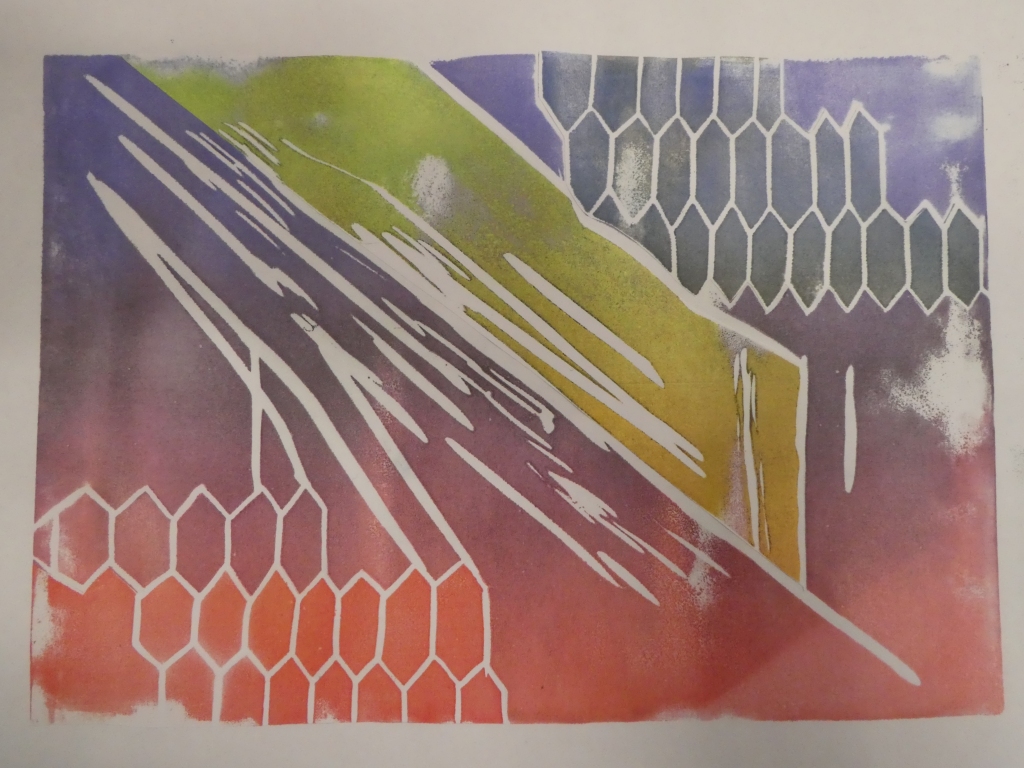
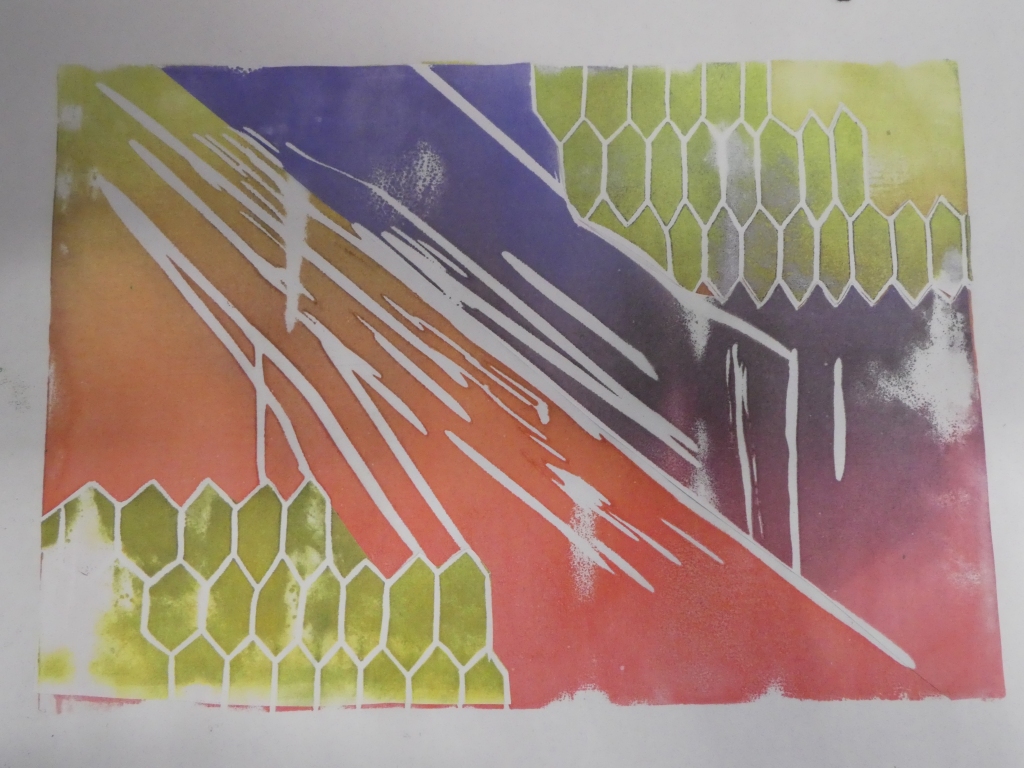
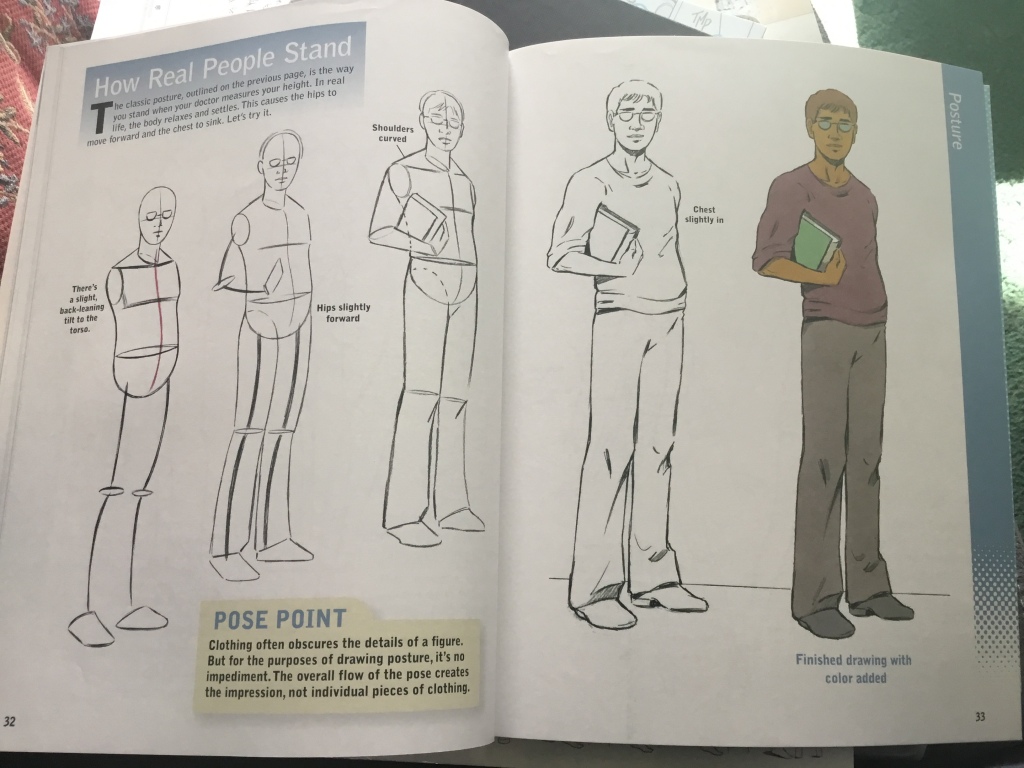
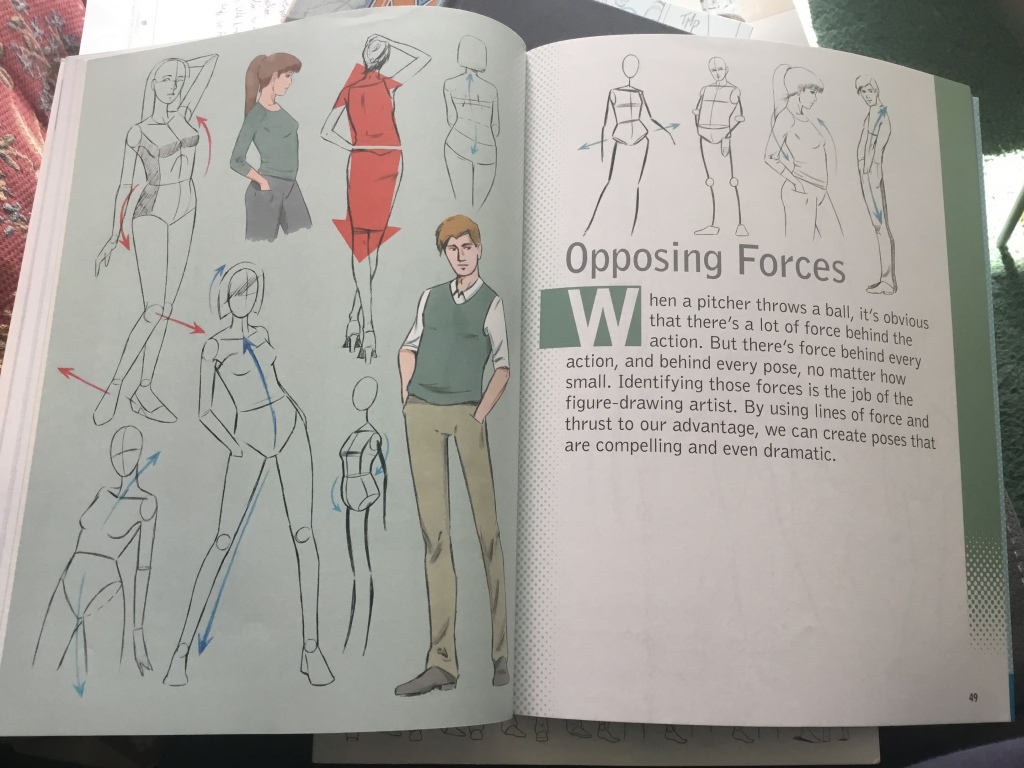
5.1 – Exploration of drawing techniques, shading, use of colour, experimentation with animation, ball bouncing & background movement.

6.1 – Try to keep my blog up to date as frequently as possible.

6.2 – Made a bouncing ball animation then developed it with emotion and size.

7.1 – Research into alternative methods relating to the outcome.

7.2 – List the target audience and how I will be meeting the demands of said audience.

Unexpected Things That Have Been Encountered

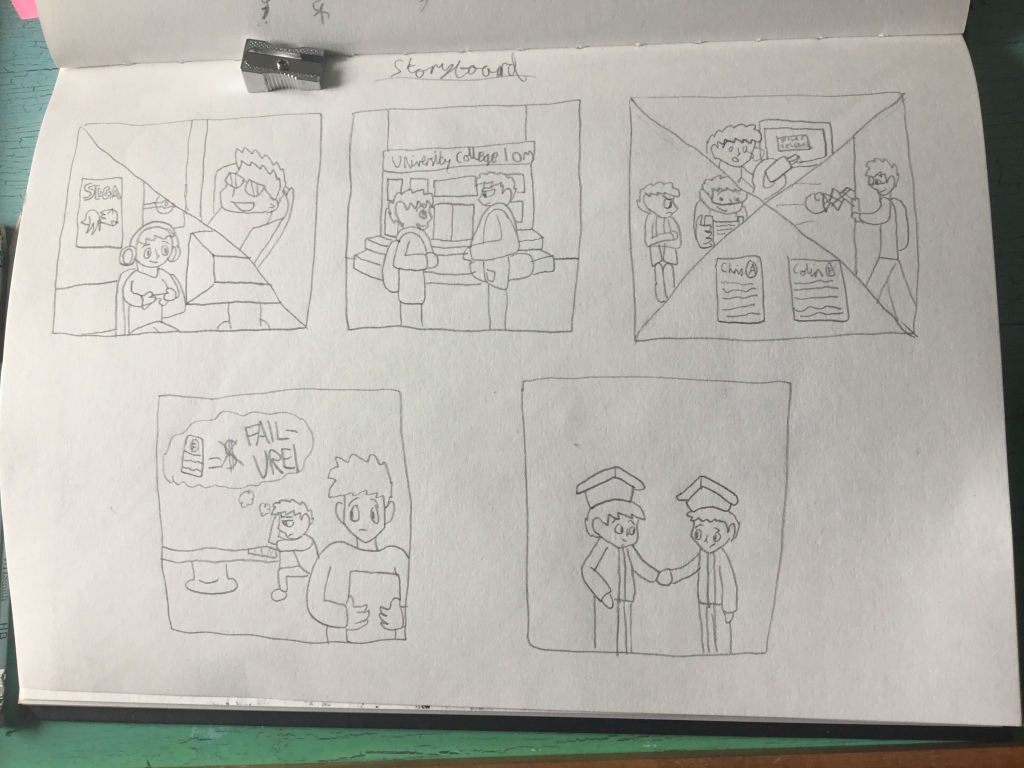
In the first week of my project where I had planned to begin researching, we were told to take out equipment we would need before going into a third lockdown. This had put a wrench in the initial plan because it made practical primary research limited. However, the lockdown has helped me concentrate a little more on experiments and developing my animation skills. Unfortunately, I have been so caught up in my experiments that I haven’t been able to get started on storyboarding or reflect on my work so far. I will be trying to do so this week.

New Plan of Action

Week Beginning:

  • 5th April – Continue to experiment with materials, begin working on storyboard, finish writing reflective responses and post all of my progression onto WordPress.
  • 12th April – Begin first drafts of the animation and finish planning the storyboard. Make a start on the animation.
  • 19th April – Continue work on animation.
  • 26th April – Continue work on animation
  • 3rd May – Finish animation work and edit.
  • 10th May – Finish final edits.
  • 17th May – Hand final piece in and evaluation.

Evaluation of (amount of/level of) Work So Far

My research is thorough and I’m happy with the amount and depth I have put into it. It has helped me with my planning, my drawing & animation skills and my character designing. However, I feel like I still need to do some more research, namely into certain artists that inspire me and a few experiments with my fine artwork.

Storytelling Narrative Research

Historical narratives:

Prehistoric storytelling

Storytelling in the stone ages - Universal Storyteller - Medium | Stone age  art, Cave paintings, Cave drawings
An Authentic Brand Story Is More Important Than Ever - Free The Birds
  • Cave Paintings
  • Stick figures
  • Prehistoric animals
  • Each drawing tells a story.

Hieroglyphics

Translation

Hieroglyphics Chart (Print, Share, Embed) | Ancient egypt hieroglyphics,  Egypt hieroglyphics, Ancient egyptian hieroglyphics
Egyptian Hieroglyphics with English Translation, n.d. | New York State  Archives
EGYPTIAN HIEROGLYPHS, EGYPTIAN HIEROGLYPHICS, EGYPTIAN HIEROGLYPHICS  ALPHABET - Luxury Tours Blog Egyptian Hieroglyphs, Egyptian Hieroglyphics,  Egyptian
Egyptian Hieroglyphs: Pictographs often carved in stone in tombs of  deceased emperors, telling tales o… | Ancient egyptian art, Egyptian  hieroglyphics, Egyptian art
  • Carved in illustrations
  • Animals, humans and objects used as symbols

Ancient Greek Storytelling

Greek Monsters | National Geographic Society
  • Illustrated pots would show a montage.
  • Early form of animation.
  • Some people would actually tell a story to a group of people.
  • This would carry on with the Romans.

Medieval Storytelling

Medieval Monday – Storytellers | Merry Farmer
All Shakespeare plays in less than two hours? - The Economic Times
  • Tapestries would be made to tell a story.
  • Some storytellers would tell a story in a song.
  • Beginning of short narratives.
  • Books. e.g. The Bible.
  • Plays. e.g. Shakespeare.

Renaissance Storytelling

  • Oil paintings were used to illustrate a story.
  • Illustrations were used to depict events.

1700s-Present Storytelling

  • Books by authors. e.g. Charles Dickens.
  • Illustrated images
  • Newspapers
  • Photographs
  • Magazines.

20th Century onward

  • Television & Films
  • Video Games
  • Music Videos
  • Blogs, tweets, status updates, journals.
  • Virtual Reality

Sketchbook Page:

Background Design Research

Background Design is often used in animation and comics to establish where the setting is.

For example, the setting can take place in a forest, like this.

Or, it could take place in a town, village or city.

Pinterest Research:

In a few animations I researched into, I noticed all of them had their own special background designs.

For example, Tom & Jerry:

In this small piece in the Bodyguard episode, the background design has been painted as still images in muted colour while the characters move around in a brighter colour. However, some of the background objects are suddenly given a brighter colour when the characters interact with the background. For example, when Spike grabs the trash can lids or when Tom bashed and shook the bubble gum machine. However, when he puts one of the gum balls into a paste bucket, the bucket remains the same colour because it was painted in the background. To show animation with it, the animators had made splashes of yellow pop out of the bucket whenever Tom dunked the gum ball in. This makes for easier animation and not having to fuss about making another object in the scene.

Another example, Phineas & Ferb:

Zoom Backgrounds | Anime background, Background, Phineas and ferb
Phineas Wallpapers - Wallpaper Cave

Most of the time, the episodes either begin or happen in the backyard of Phineas and Ferb’s house. However, when they move to another scene, they sometimes have pattern in their backgrounds, like in the opening title sequence. This makes for interesting background and a unique background style for the show only. However, during the first season, they did sometimes use realistic photographs in certain scene, like Mount Rushmore.

Watch Phineas and Ferb Season 1 Episode 1 - Rollercoaster / Candace Loses  Her Head Online Now

Another example, Charlie and Lola:

As I stated in a previous entry, https://euansblog.home.blog/2021/03/24/fmp-research/, the background, objects and part of the characters use actual photographs which have been collaged for setting and interact with the movement. This background design idea is a unique idea which could be useful in both research and testing out material for characters.

For my project, I’ve thought of setting the scene in a futuristic world, therefore, I have been looking into futuristic background design as seen in my Pinterest board above. Some examples of a futuristic background design that I can think come from video games.

Ratchet & Clank (PS4) - Planet Kerwan Gameplay - YouTube

Planet Kerwan, Ratchet & Clank

Corneria - Star Fox Zero Wiki Guide - IGN

Corneria: Star Fox Zero

Cinq Ville | MMKB | Fandom

Cinq Ville: Mega Man ZX

Here are two examples of my own background designs.